Skip to content
 Solar energy, as a renewable source, is an undeniably great way to reduce electricity bills & promote sustainable living.
Solar Panel Installation in Kerala is becoming increasingly popular among homeowners as a renewable, clean energy source. India has significantly increased solar panel installations, reaching 81.81 GW as of March 2024.
The country has an ambitious target to reach 500 GW of renewable capacity by 2030, of which 280 GW is slated for solar energy.
If you are planning to install solar panels for your home, this step-by-step guide will help you understand the entire process and make an informed decision.
Why Solar Panels?
Before diving into the installation process, let’s first take a closer look at why solar panels are such a good investment, especially in Kerala.
- Abundant Sunlight: Kerala, with its tropical climate, enjoys consistent and abundant sunlight throughout the year. This makes it an ideal location for solar energy generation. By harnessing this power, homeowners can dramatically reduce their dependence on the grid and save on electricity bills.
- Sustainability: Solar energy is a clean and renewable source of power. By choosing to install solar panels in Kerala, you are helping reduce the carbon footprint and support the global transition toward greener energy sources.
- Cost Savings: The long-term savings on electricity bills can be substantial. While there is an initial investment for installation, the energy savings over the years will quickly offset the cost.
- Government Incentives: Kerala offers various incentives and subsidies for solar installations, making solar power even more affordable for homeowners. Additionally, homeowners can sell excess electricity back to the grid, further lowering energy costs.
- Increased Property Value: Homes equipped with solar panels tend to have higher property values due to their energy efficiency and reduced environmental impact. This can be a great benefit if you ever decide to sell your home.
Understanding the Solar Panel Installation Process
The process of installing solar panels in Kerala can be broken down into several key steps. Each step is critical to ensuring a successful, efficient installation.
Step 1: Assessing Your Energy Needs
The first step in the solar panel installation process is to assess your home’s energy needs. This involves analyzing your current electricity consumption to determine the size of the solar power system you need. Most homes consume a varying amount of electricity depending on the number of appliances used, family size, and overall lifestyle.
To get started, check your past electricity bills for a consistent monthly usage pattern (in kWh). If you are unsure about your energy consumption, consider contacting a solar company in Kerala for an energy audit. They can assess your home’s energy consumption and recommend a system that meets your needs. This is a crucial step because the size of the solar system will directly affect the number of solar panels required in Kerala.
Step 2: Choosing the Right Type of Solar Panel
Once you have a clear understanding of your energy needs, the next step is to choose the right type of solar panel. There are three main types of solar panels commonly used in residential installations: monocrystalline, polycrystalline, and thin-film.
- Monocrystalline Panels: Known for their high efficiency, these panels are made from a single-crystal structure. They typically offer the best performance, especially in areas with limited space. These panels are ideal for homes with limited roof space, and while they cost more upfront, they tend to deliver the best long-term returns.
- Polycrystalline Panels: These panels are made from multiple crystal structures, making them less efficient than monocrystalline panels but also more affordable. They are a popular choice for homeowners looking for a balance between cost and performance.
- Thin-Film Panels: Lightweight, flexible panels that can be applied to a variety of surfaces, including rooftops. However, they tend to be less efficient than crystalline panels, so they require more space to generate the same amount of electricity.
When choosing solar panels, consider efficiency, cost, and available space. Consult with a solar company Kerala to determine the best option for your home.
Step 3: Selecting a Reputable Solar Company in Kerala
One of the most crucial decisions you’ll make is choosing a reliable Solar Panel Installation in Kerala. The company you select will not only handle the installation but also provide you with guidance on system design, permits, and ongoing maintenance. Here are some tips to help you find the best solar company in Kerala:
- Research: Identify top solar companies in Kerala with a proven track record of successful installations. Read customer reviews, testimonials, and case studies to gauge the quality of their service.
- Certifications and Experience: Check whether the company holds certifications from reputable organizations, such as the Ministry of New and Renewable Energy (MNRE). Experienced installers are more likely to deliver a smooth, hassle-free installation.
- Warranty and Maintenance: Opt for a company that offers warranties on both the solar panels and the installation. A reliable warranty ensures you are covered in the event of future issues. Additionally, ensure the company provides maintenance services or has a recommended partner for long-term support.
- Customized Solutions: A good solar company in Kerala will assess your home’s specific needs and provide customized solutions. They should not offer one-size-fits-all solutions but instead tailor the system to factors such as roof size, orientation, and energy consumption.
Step 4: Site Assessment and System Design
Once you’ve chosen a Solar Panel Installation in Kerala, the next step is the site assessment. A technician from the solar company will visit your property to evaluate the suitability of your roof for solar panel installation. They will assess factors such as:
- Roof Condition: The roof should be in good condition to support the weight of the solar panels. If the roof is old or damaged, repairs might be required before installation.
- Roof Orientation: In Kerala, the ideal orientation for solar panels is southward, which maximizes sunlight exposure. Your solar provider will evaluate the angle and direction of your roof to ensure the panels are positioned optimally.
- Shading: The solar company will check for any potential shading from trees, buildings, or other structures that could affect panel performance.
Based on the assessment, the company will provide a customized system design. This will include the number of panels needed, their placement on your roof, and how the system will connect to your existing electrical system.
Step 5: Obtaining Permits and Approvals
In Kerala, you must obtain certain permits and approvals before installing solar panels. These permits include electrical connection approvals and potential grid integration permissions if you plan to connect your system to the local grid.
A solar panel and installation will typically handle this paperwork on your behalf. They will submit the necessary documents to local authorities, ensuring that the installation complies with all local regulations. This step ensures that your solar system operates legally and safely.
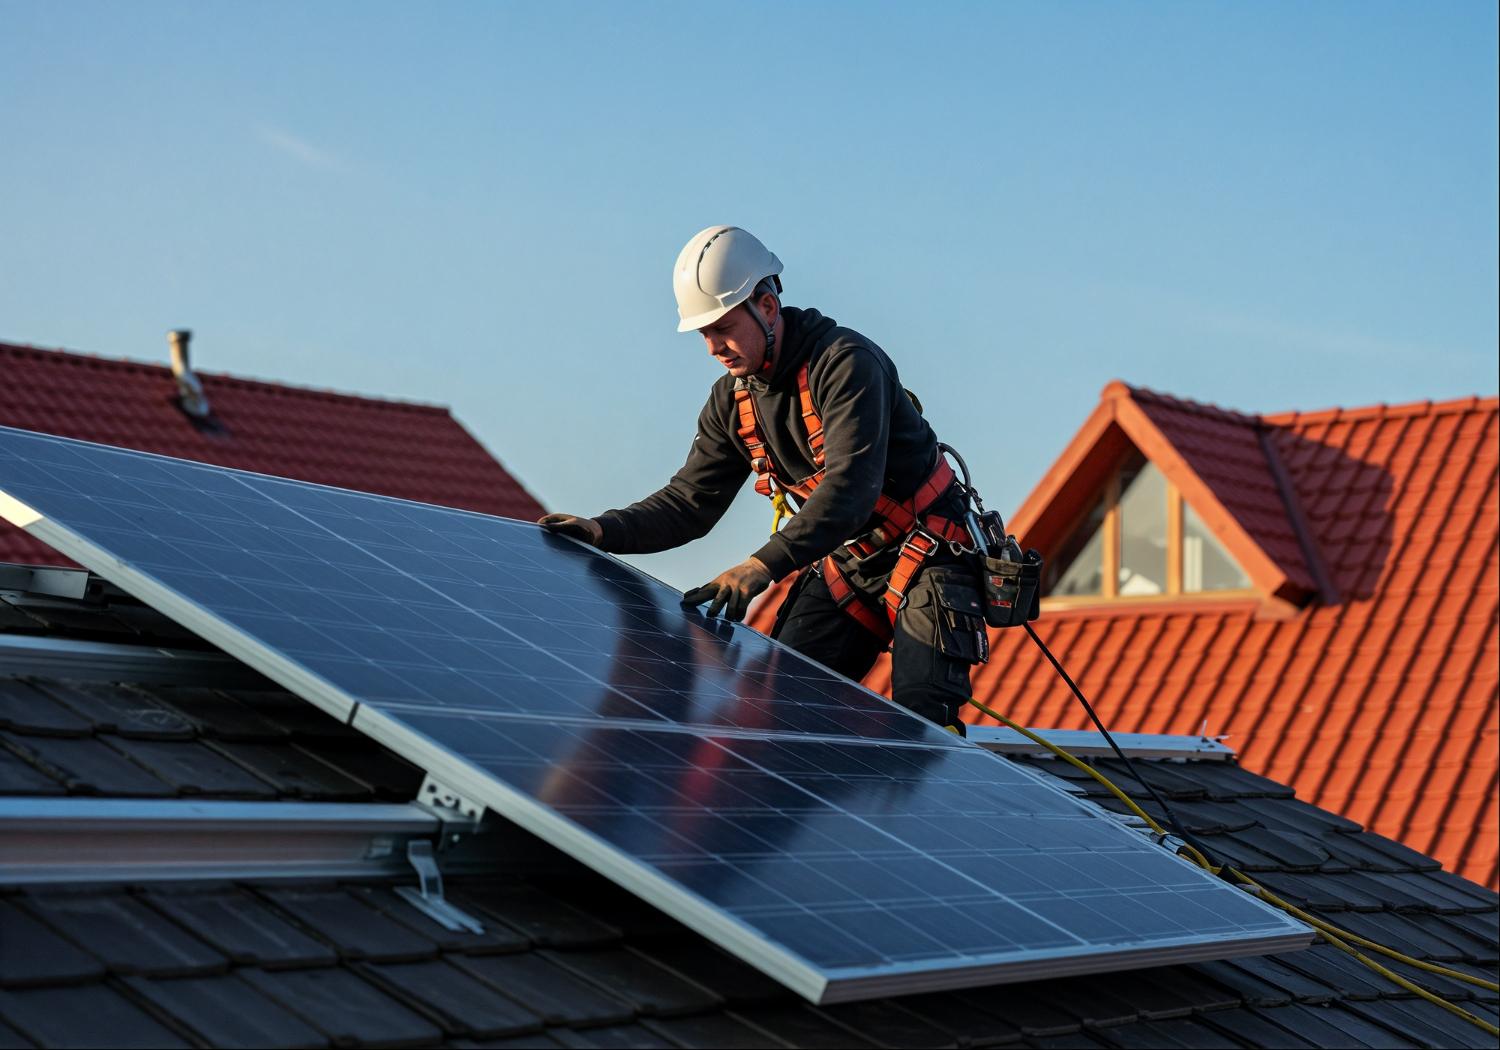
Step 6: Installation of Solar Panels
The actual installation process typically takes one to two days, depending on the system’s size. The installation team will:
- Mount the Solar Panels: The panels will be securely attached to your roof, either using a fixed frame or a ballasted system, depending on your roof type.
- Install the Inverter: The inverter converts the direct current (DC) generated by the solar panels into alternating current (AC), which most household appliances use.
- Electrical Connections: The solar panels will be connected to your home’s electrical system, including any backup storage systems (batteries) or grid connection.
- Grid Integration (if applicable): If your system is grid-tied, the installation team will connect the system to the local electricity grid, allowing you to sell excess electricity back to the grid.
Step 7: Inspection and Testing
Once the installation is complete, the solar company Kerala will conduct a final inspection to ensure everything is in place. The system will be tested to confirm that the panels are generating electricity and that the inverter is functioning correctly. They will also provide you with information on how to monitor the system’s performance and explain any necessary maintenance steps.
Step 8: Maintenance and Monitoring
After installation, it’s essential to monitor your solar system’s performance. Many modern systems come with monitoring software that lets you track your energy production from your smartphone or computer. This can help you identify issues early.
While solar panels require minimal maintenance, it’s crucial to keep them clean and free from debris. If you live in a dusty area or have trees nearby, periodic cleaning may be required to ensure optimal performance.
Conclusion
Switching to solar energy in Kerala is a smart decision for homeowners looking to reduce their carbon footprint, save on electricity costs, and contribute to a more sustainable future. By following this step-by-step guide, from assessing your energy needs to choosing the best solar company in Kerala, you can make an informed decision and enjoy the benefits of solar power for many years to come.
Remember, a well-installed solar system not only saves money but also increases your home’s value and promotes environmental sustainability. By choosing a reliable solar company in kerala and maintaining your system, you can harness the power of the sun and enjoy clean, renewable energy in Kerala for decades to come.